


How to Make Your Nail Extensions Last Longer at Home: The Ultimate Guide
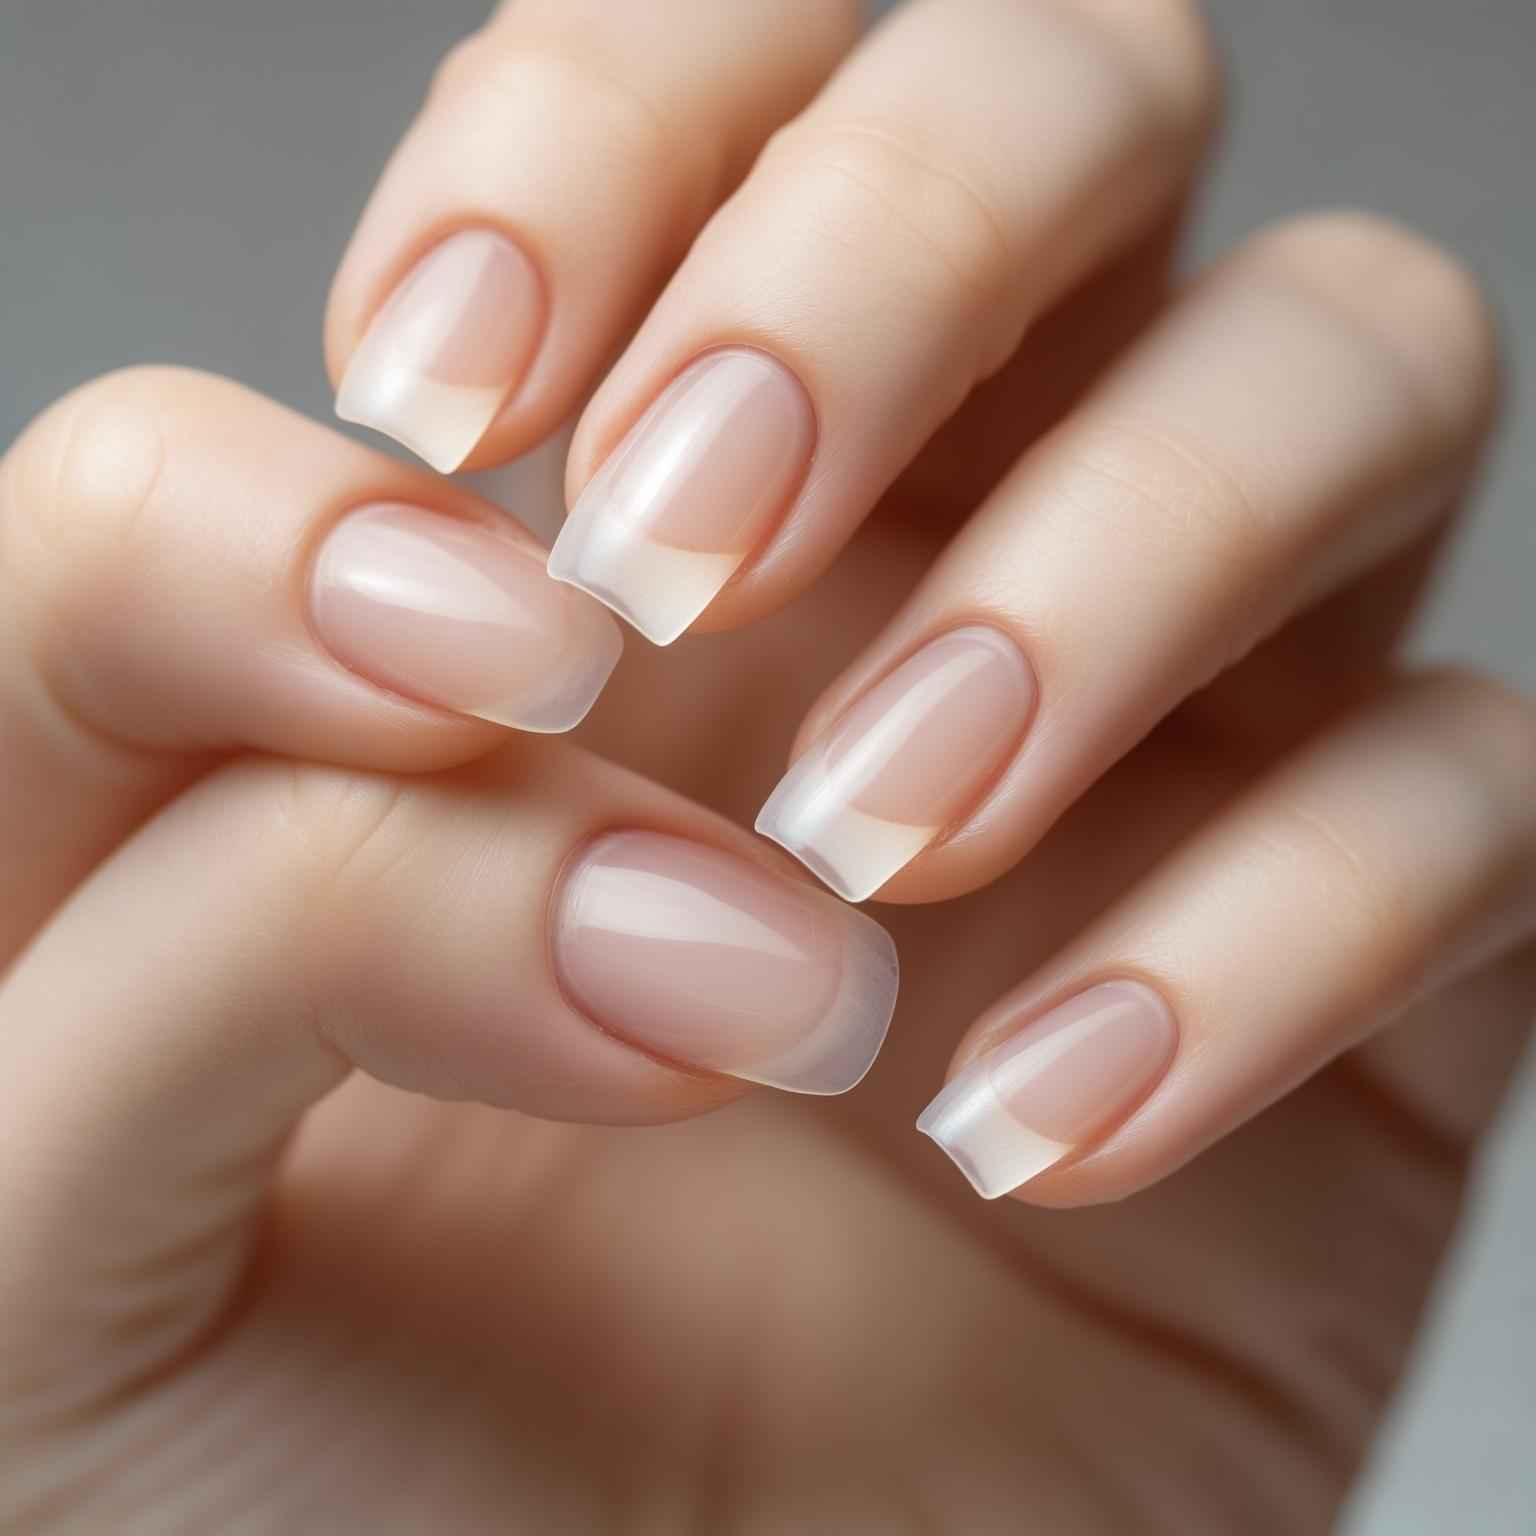
Nail extensions are the ultimate best friend to the beauty aficionado. They're luxury, long-wearing, and give you that editorial-perfect nail art you simply can't stop staring at. But nothing is more frustrating than having your immaculate set chip, lift, or crack in a matter of days. You've probably wondered how to extend extensions, perhaps when you're doing them on yourself at home. Well, here you are.
With the proper products, techniques, and care, salon-quality, enduring at-home nail extensions are yours to enjoy. All you'll ever need to know regarding nail extension care tips, from preparation to application, aftercare to maintenance, is contained within these pages so that you can maximize every set.
Why Do Nail Extensions Fail Too Soon?
Before diving into the solutions, it’s essential to understand why nail extensions may not last as long as expected. Several factors can reduce their durability, especially when doing your nails at home.
Common Causes:
- Improper nail preparation
- Low-quality materials
- Poor application technique
- Lack of aftercare
- Excessive exposure to water and chemicals
- Using nails as tools
Now let’s explore how to overcome these issues and achieve long-lasting nail extensions at home with ease.
1. Nail Prep: The Secret to Longevity
Proper nail preparation is the secret to all long-lasting nail extension sets. It's an absolute requirement in learning how to prolong the life of your nail extensions.
Important Steps in Preparing:
- Wash hands and clear lotions or oils.
- Push back and clip your cuticles. This is in order not to have overgrown cuticles push the product back and cause early chipping.
- Buff the nail plate very lightly with a fine-grit buffer to give an extremely light rough surface.
- Dehydrate the surface of the nail using a dehydrator in order to dry out the moisture and oils.
- Apply a bonder or primer in order to get maximum adhesion between the extension material and the nail.
- Without doing them, or doing them incorrectly, even the best product will not adhere.
2. Use Quality Products
If long-term house extensions are the goal, product quality is important. Cheap adhesives, low-quality gels, or watered-down acrylics lead to premature cracking and lifting more frequently than not.
Be wary of:
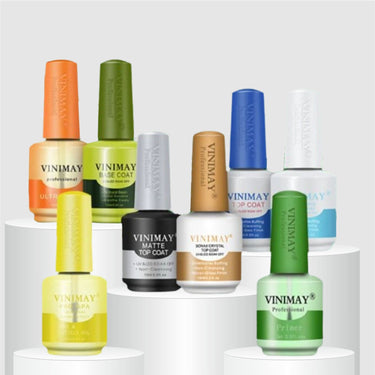
- First-class builder gel or acrylic
- Acid-free primers
- Good tip glue
- UV/LED lamps for effective curing
- Chip-resistant, non-yellowing topcoat
- Splashing out on the right tools and products equals higher-quality finishes and fewer repairs.
3. Application Matters
Even if your products are of the highest quality, your application process has to be accurate. The following are some basic nail extension care tips for accurate application:
a. No Contact with Skin
No gel or acrylic must be allowed to touch your sidewalls or cuticle. Lifting will happen, and infection might follow.
b. Work in Thin Layers
Irregular, thick coats won't cure. Work with gel or acrylic in thin layers and cure them independently.
c. Create a Strong Apex
The apex, the tip in the center of the nail provides strength to your extension. Without an apex, your nails will break or curve.
d. Tip the Free Edge
Finish the nail edge with product at all times to avoid chipping.
A good application is the most important part of how to achieve long-lasting nail extensions.
4. Nail Extension Day-to-Day Tips for Caring for Nail Extensions
Although it is important to apply properly, care for your nails is also important. Do these daily in order to be capable of doing long-term nail extensions yourself.
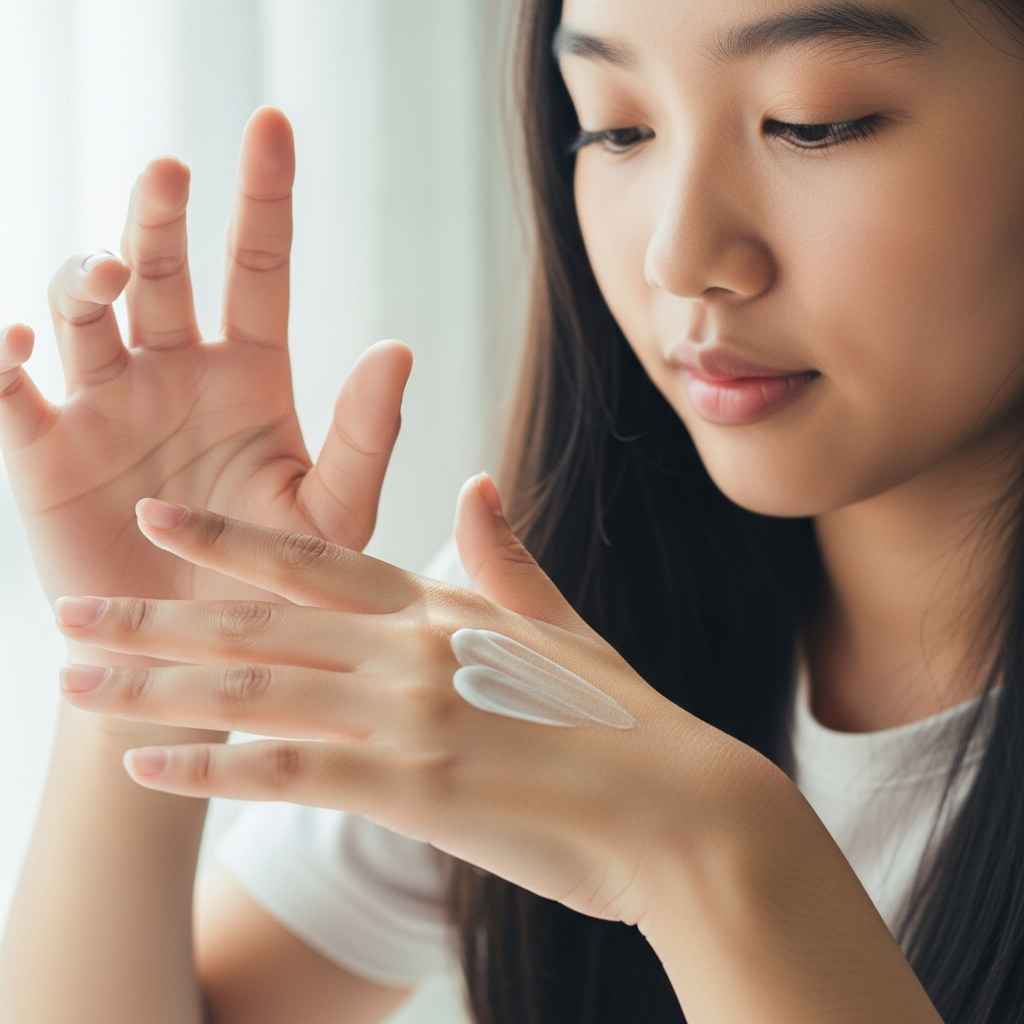
a. Apply Moisturizing Cuticle Cream Daily
Dry cuticles cause cracking and lifting of extensions. Apply hand cream and cuticle oil every day.
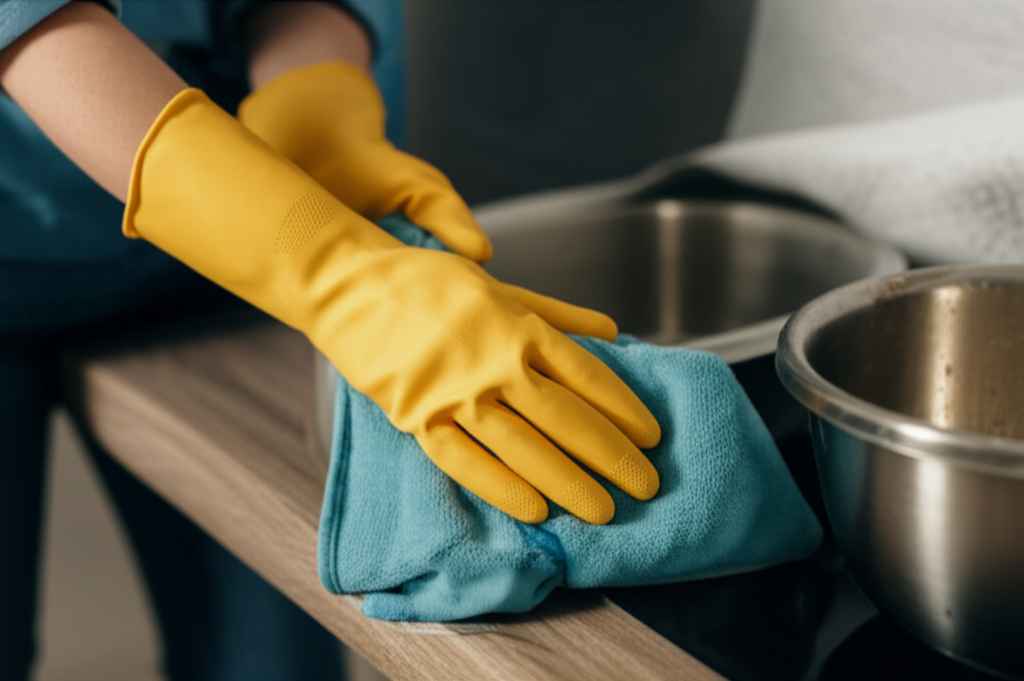
b. Wear Gloves to Household Chores
Water and chemicals are the ruin of nail extensions. Add gloves when washing dishes or doing cleaning.
c. Don't Use Nails as Tools
Avoid using nails to pick, open cans or remove stickers. That is exerting force on the extension and can break it.
d. Keep Under the Nails Clean
Keep the area under your nails clean and dry. Use a soft brush and do not stab with sharp objects.
By incorporating these suggestions into your life, you're halfway to professional status when it comes to creating nail extensions that last.
5. Maintenance: Keep Nails Fresh and Strong
Even with flawless preparation and application, your nails must be cared for. This is how to maintain fresh long-lasting nail extensions at home:
a. Refill Every 2–3 Weeks
As your natural nails grow, holes develop at the base. Hole filling keeps your nails in shape and stops lifting.
b. File Frequently
Use a fine-grit nail file to keep your nails in shape and stop snags. File only in one direction always to prevent splitting.
c. Repair Lifting or Cracks on Time
As soon as you see lifting, act. Gently buff the area, apply nail glue or builder gel, and topcoat.
6. Removal: Do It Right
One of the most commonly ignored tips for caring for extensions is proper removal. Never pull off your extensions—it damages your own nails.
Safe Removal Instructions:
- Soak cotton pads in acetone and wrap each finger individually with foil.
- Sit for 10–15 minutes.
- Gently press off the softened extension with a cuticle pusher.
- Buff carefully to remove ridges.
- Rehydrate with oil and cream.
If done correctly, your nails will be healthy and ready for the next set.
7. Let Your Natural Nails Rest
Although it may be tempting to go set to set, letting your nails rest every two months will keep them strong and flexible.
Break Periods:
- Nail strengthener is applied.
- Cuticle oil based on biotin is applied.
- Nails are cut and disinfected.
- Moisturizing is done regularly.
Strong and healthy nails are better supported with the help of extensions, and longer-lasting nail extensions can be created at home.
8. Nail Health and Diet
Whatever you consume has an impact on your nails. If you consume plenty of vitamins and minerals, your nails will be healthy and strong.
Vital Nutrients:
- Biotin:- makes nails stronger and develops them.
- Vitamin E:- makes the nails more pliable.
- Zinc:- prevents nails from weakening.
- Protein:- maintains the structure of nails.
- Omega-3 fatty acids – Moisturize the nails.
Consider a nail-specific supplement if chronic breakage or brittle nails.
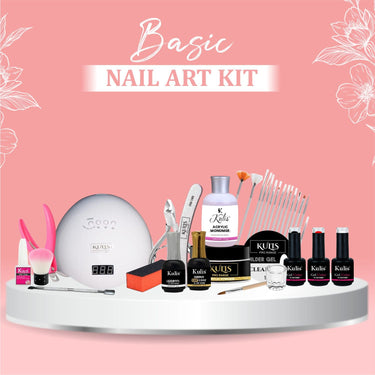
9. Everything the Home Nail Artist Needs in Tools
If you're dead serious about having at home permanent nail extension Tool kit, you want to have a pro-level.
Must-Haves:
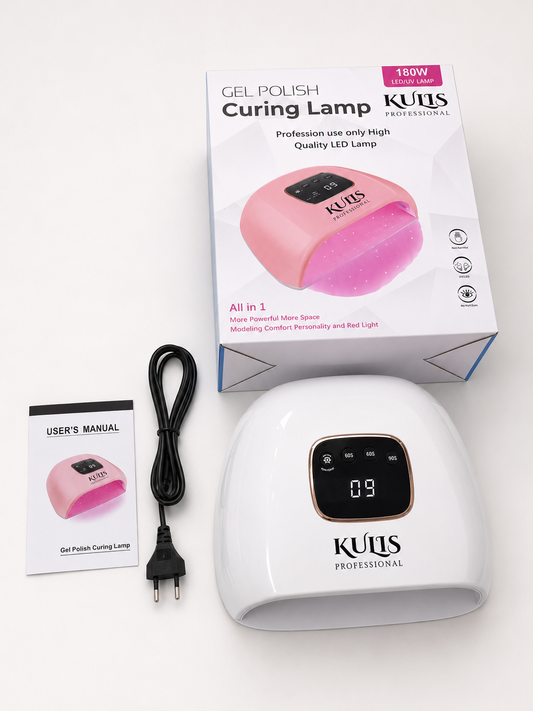
- UV/LED nail lamp
- Nail buffer and files
- Cuticle pusher and trimmer
- Nail brush
- Good-quality tips or nail forms
- Dehydrator, primer, and topcoat
- Acetone and foil wraps for removal
You're ready for fillings, touch-ups, or repairs with the proper tools.
The Final Word
As an experienced do-it-yourself nail technician or a beginner, possessing the skill set to create enduring extensions is all about preparation, focus on detail, and TLC every day. Married with the right techniques and the commitment to upkeep, it's not only possible but straightforward to enjoy enduring nail extensions from home.
Make these nail extension care tips part of your regular routine, and you’ll enjoy flawless, durable nails that not only look fantastic but stay that way for weeks. Skip the salon lines, save money, and take full control of your nail game with confidence.
Now it's your turn. Begin preparing your toolkit, do these steps, and be ready to experience your most beautiful, long-lasting manicure ever, right at home.